|
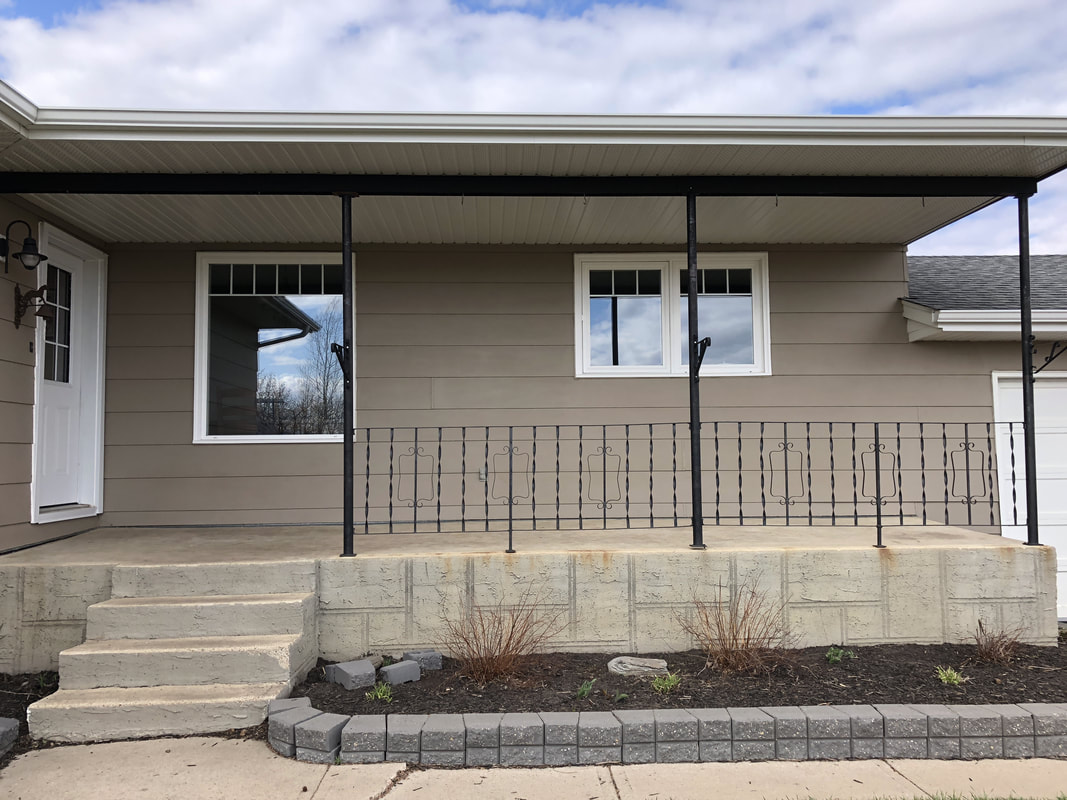
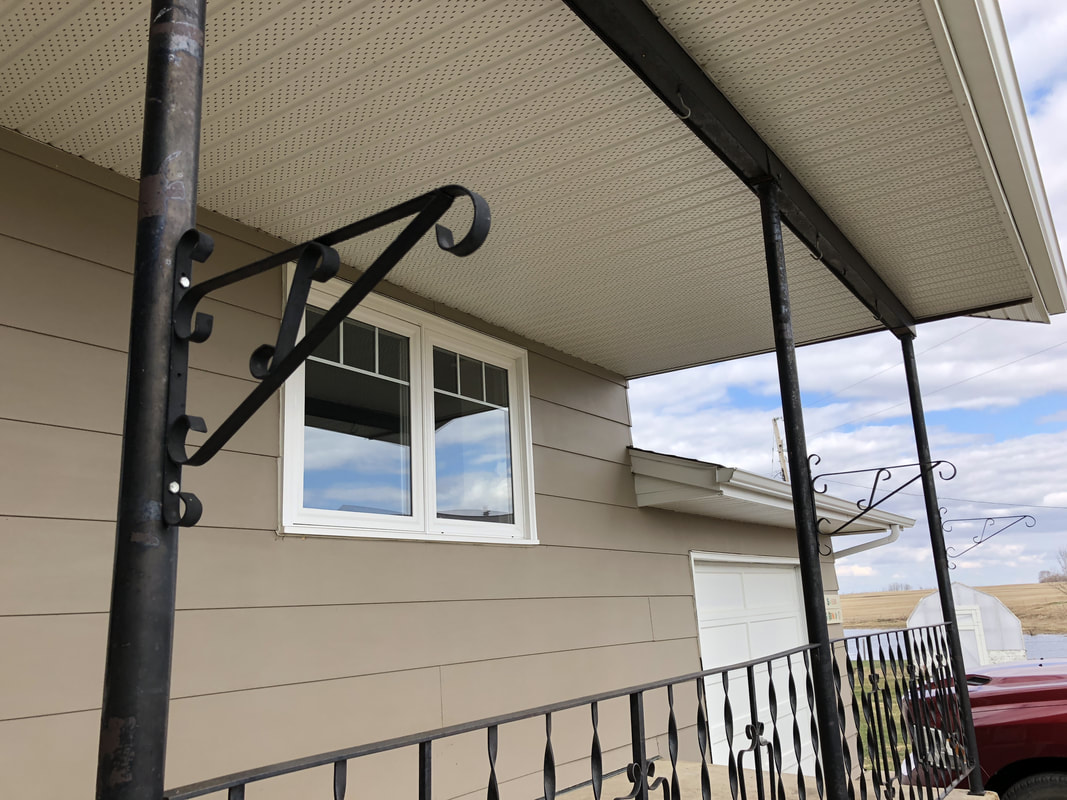
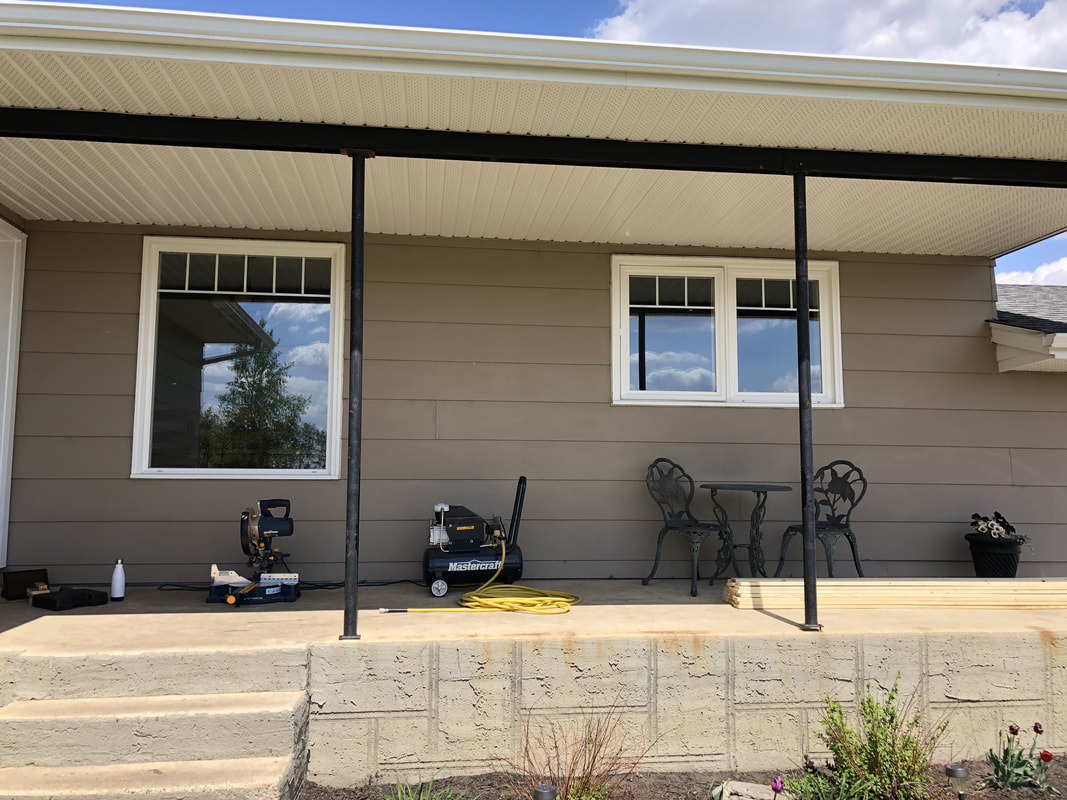
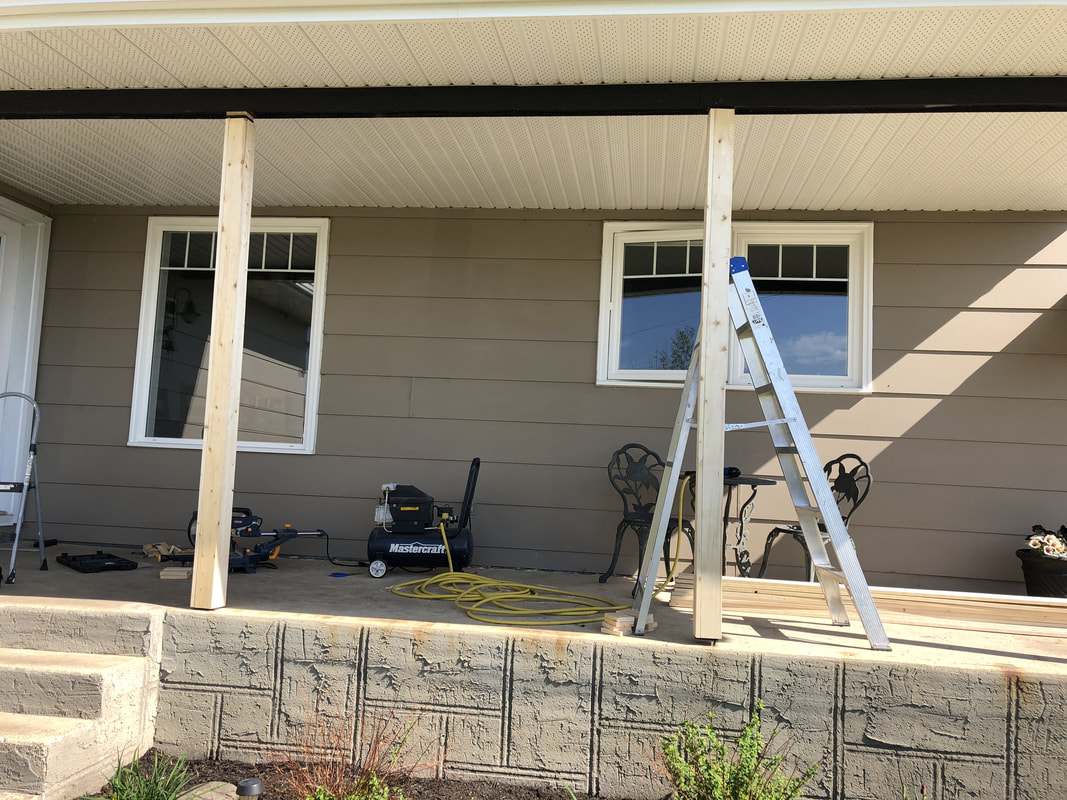
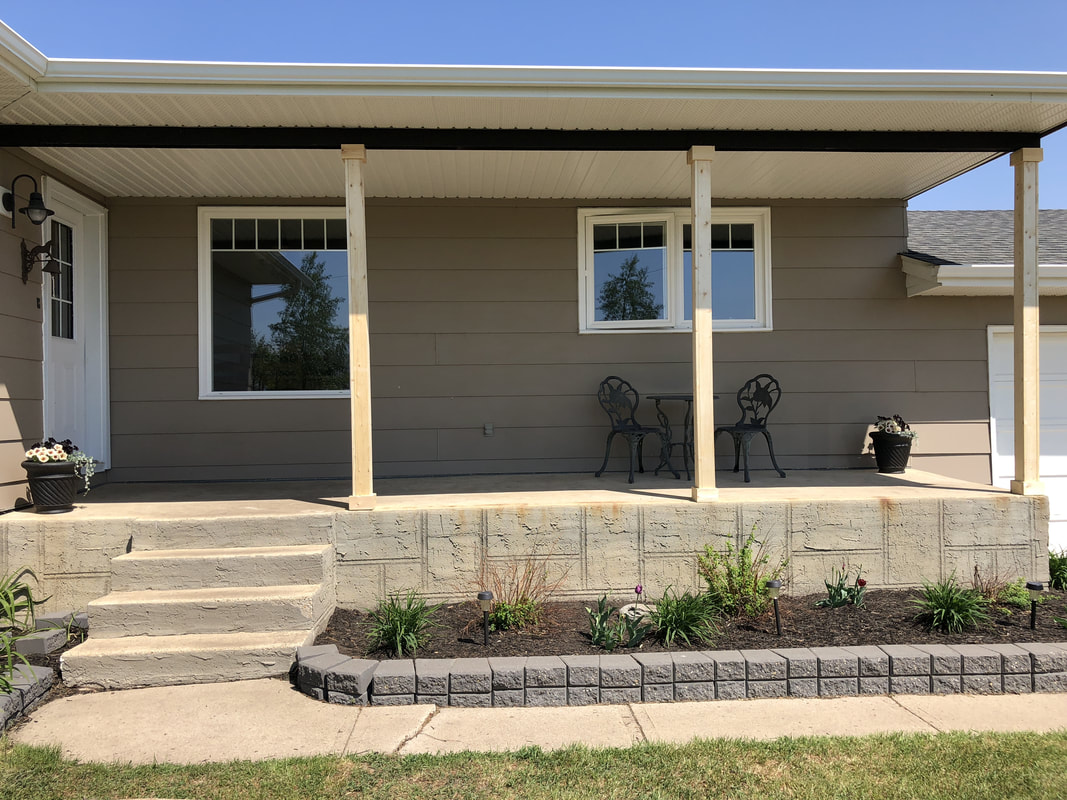
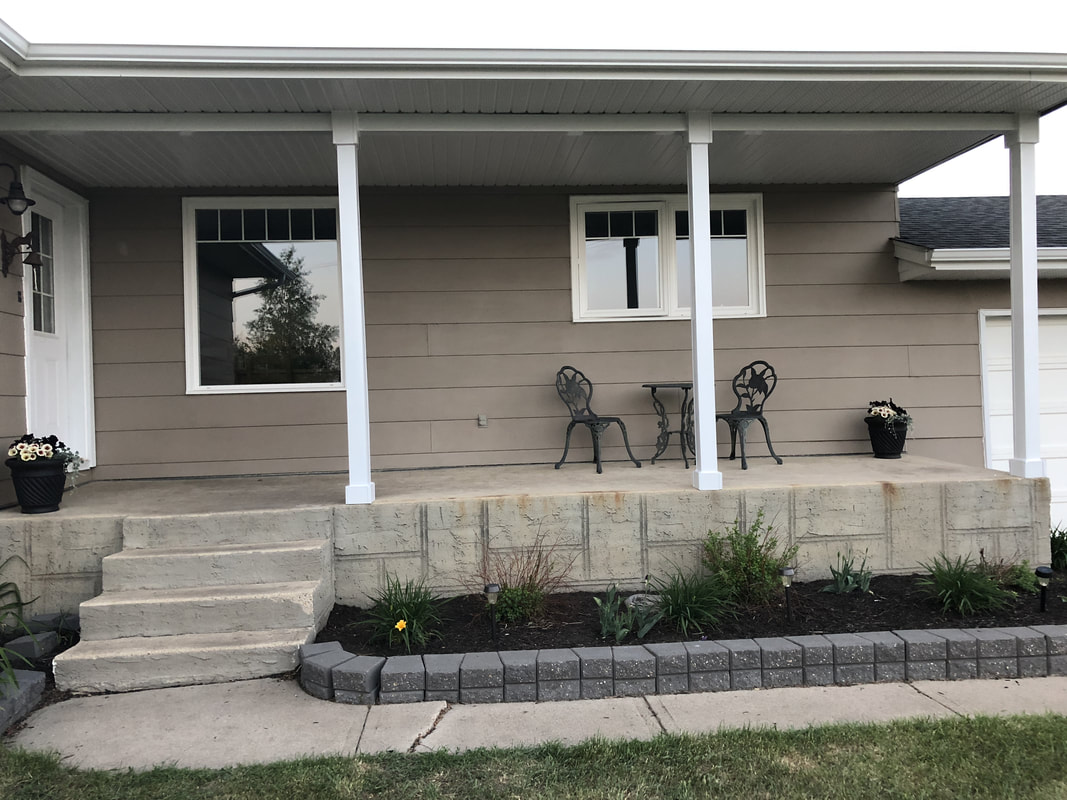
More often than not (every time I drove into the yard or looked out the kitchen window), I would glance at the out-dated railing and the rusty posts that were only suggesting they supported anything and well, I would cringe. Shake my head. And look away as quickly as I could. I'd updated the shingles, the doors and windows, and gave the house a fresh coat of paint. But what was the deal with the not-so-much-in-style circa 1980 wrought iron? Why was it still there? Why was I ok with that? Well, these things take time I guess. Sometimes a lot of time. And finally after nine years of careful planning (read procrastinating), my front porch got a much needed face-lift! It all began with a challenge from a sweet friend to remove what I called the "meat hooks" and the flower pot hanger brackets. That wasn't so bad, now was it? I was thrilled. I was committed. The project had officially begun. In my excitement, I almost removed the railings too but determined they were quite likely holding it all together. Best to wait until I was ready to build. After a bit of assessment, a few rough measurements and a trip to Home Hardware, my favourite local building centre, I was all set to see if my grand vision for new columns was going to work. Let the games begin! The railings came off without too much trouble. And the posts sort of stayed in place with the help of a few shims that I jammed into the gaps. Now for the fun part... building some boxes and seeing if I could successfully manage to wrap the posts. There were countless trips back and forth to the shop to drag out yet another tool. A nasty blood blister from carrying my mitre saw. A crisis call to my son Justin for instructions on hooking up the air nailer to the air compressor (yes, I'm a novice with air tools but wow did I love how slick that worked!). But a few hours later, the project was really beginning to take shape. The wrought-iron and the rusty posts were gone! To keep with the farmhouse bungalow feel, I finished the new columns off with simple caps and bases that I also built with 1x4's. I had pre-determined that I wasn't about to paint every other year and watch our harsh Alberta winters beat up and wear out my hard work. The solution: capping with a no-maintenance tin wrap. Why I waited so long to take this on is beyond me. I guess I was intimidated and unsure of how it would turn out. But I'm so very pleased with the new look. Pleased that I could do this myself (except for the tin wrap) and on a budget. And pleased that I'm pretty handy with the air nailer after all!
I'll be finishing off the project with aluminum railing and perhaps a couple new outdoor rocking chairs so I can sit back and enjoy the view from my new front porch!
0 Comments
Leave a Reply. |
Hi! I'm Cheryl, welcome to Quiet Creek!I love Jesus, my family, running, everything design and DIY, good friends and good food! ArchivesCategories |

 RSS Feed